Public Info Center
Public Info Center
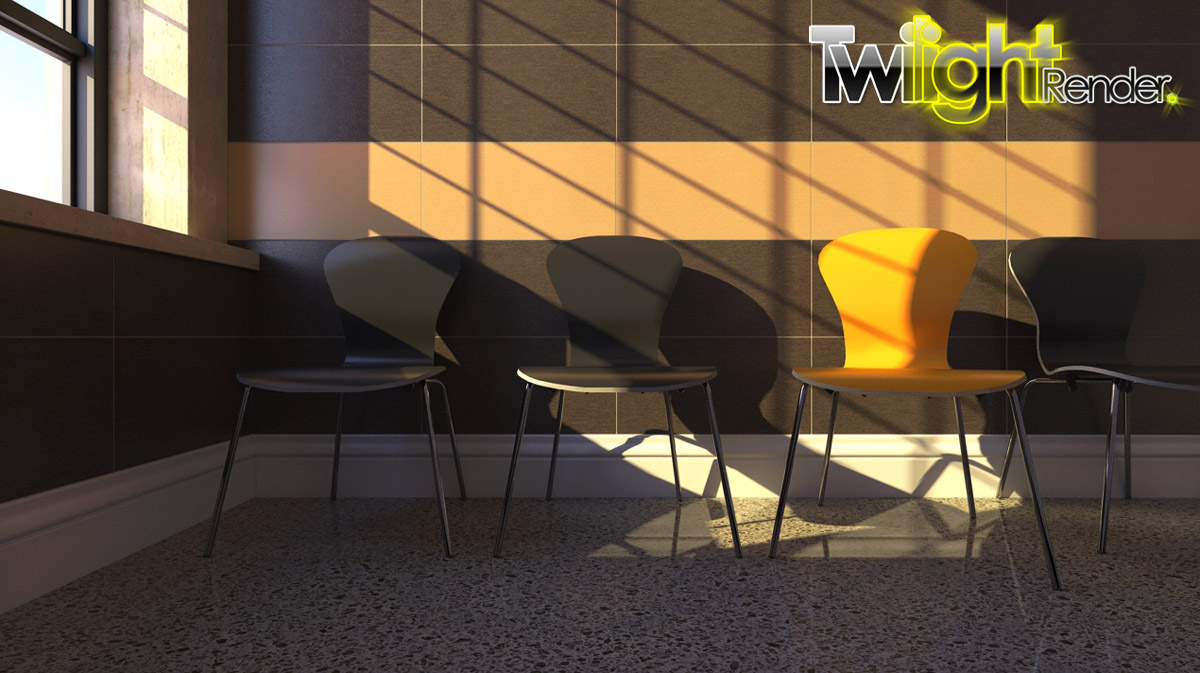
Just an update of my last post, with a proper topic name this time. Some small changes in the breezeway in the back, it is now a small stone accent wall instead of an entirely stone breezeway. Also, some minor changes in PP.
- Attachments
-
- PIC_copysmall.jpg (366.13 KiB) Viewed 15192 times
Re: Public Info Center
Except perhaps - you forgot to add the cheap/ugly garbage can the client will most certainly place by the door! And the ugly stuff that will be sitting on the desk.
-
Boofredlay
- Posts: 524
- Joined: Wed Aug 26, 2009 3:01 pm
- SketchUp: 2014
Re: Public Info Center
Bravo & that floor mat is great. Care to share the settings?
Nice detail in the moulding as well.
Nice detail in the moulding as well.
Re: Public Info Center
Well, very nice  . I also want to know the floor settings
Re: Public Info Center
Thanks for the comments...
Unfortunately I do not have a great material image and bump map. I took a small sample image from the tile manufacturer's website and blew it up and positioned it to avoid seeing any seems. The images for the project were straight out of SU, so I did not consider a bump map for this material. When I decided to render it, I have to take an hour to offset each tile and extrude the grout downward. Here is the jpeg of the material and a portion of the floor model to give a better idea of how I did this (the whole floor was too big to upload). I used the Porcelain template, IOR = 2 and Shininess set at 4000. No bump because I wasted time modeling the joints.
Unfortunately I do not have a great material image and bump map. I took a small sample image from the tile manufacturer's website and blew it up and positioned it to avoid seeing any seems. The images for the project were straight out of SU, so I did not consider a bump map for this material. When I decided to render it, I have to take an hour to offset each tile and extrude the grout downward. Here is the jpeg of the material and a portion of the floor model to give a better idea of how I did this (the whole floor was too big to upload). I used the Porcelain template, IOR = 2 and Shininess set at 4000. No bump because I wasted time modeling the joints.
- Attachments
-
- CS58.jpg (51.31 KiB) Viewed 14721 times
-
- PIC_floor.skp
- (670.99 KiB) Downloaded 611 times
Re: Public Info Center
Awesome job 
Re: Public Info Center
very nice
Re: Public Info Center
Very nice JCA, but seems a lot of work for something simple like tile.
Next time I hope you can save yourself a lot of trouble and try making the texture like this tile.
Next time I hope you can save yourself a lot of trouble and try making the texture like this tile.
-
ramy_ramroum
- Posts: 392
- Joined: Thu Apr 22, 2010 10:57 pm
- SketchUp: 7
- Location: TUNISIA
Re: Public Info Center
hi jca !! can post it with sketchup 7 plz ?JCA131 wrote:Thanks for the comments...
Unfortunately I do not have a great material image and bump map. I took a small sample image from the tile manufacturer's website and blew it up and positioned it to avoid seeing any seems. The images for the project were straight out of SU, so I did not consider a bump map for this material. When I decided to render it, I have to take an hour to offset each tile and extrude the grout downward. Here is the jpeg of the material and a portion of the floor model to give a better idea of how I did this (the whole floor was too big to upload). I used the Porcelain template, IOR = 2 and Shininess set at 4000. No bump because I wasted time modeling the joints.
ramy_ramroum
Re: Public Info Center
Here is the SU 7 model.
Fletch, I wasn't sure how i could create a bump map for the floor tile the way that I was using the texture image. Since the only image I had of the actual tile we were using was a single tile, if I created the bump map based on that, I would have the same exact tile repeating everywhere... which would probably stand out. Any ideas on how to achieve a non-repeating floor material with the image I posted?
Fletch, I wasn't sure how i could create a bump map for the floor tile the way that I was using the texture image. Since the only image I had of the actual tile we were using was a single tile, if I created the bump map based on that, I would have the same exact tile repeating everywhere... which would probably stand out. Any ideas on how to achieve a non-repeating floor material with the image I posted?
- Attachments
-
- PIC_floor_7.skp
- (676.21 KiB) Downloaded 572 times
Who is online
Users browsing this forum: No registered users and 3 guests