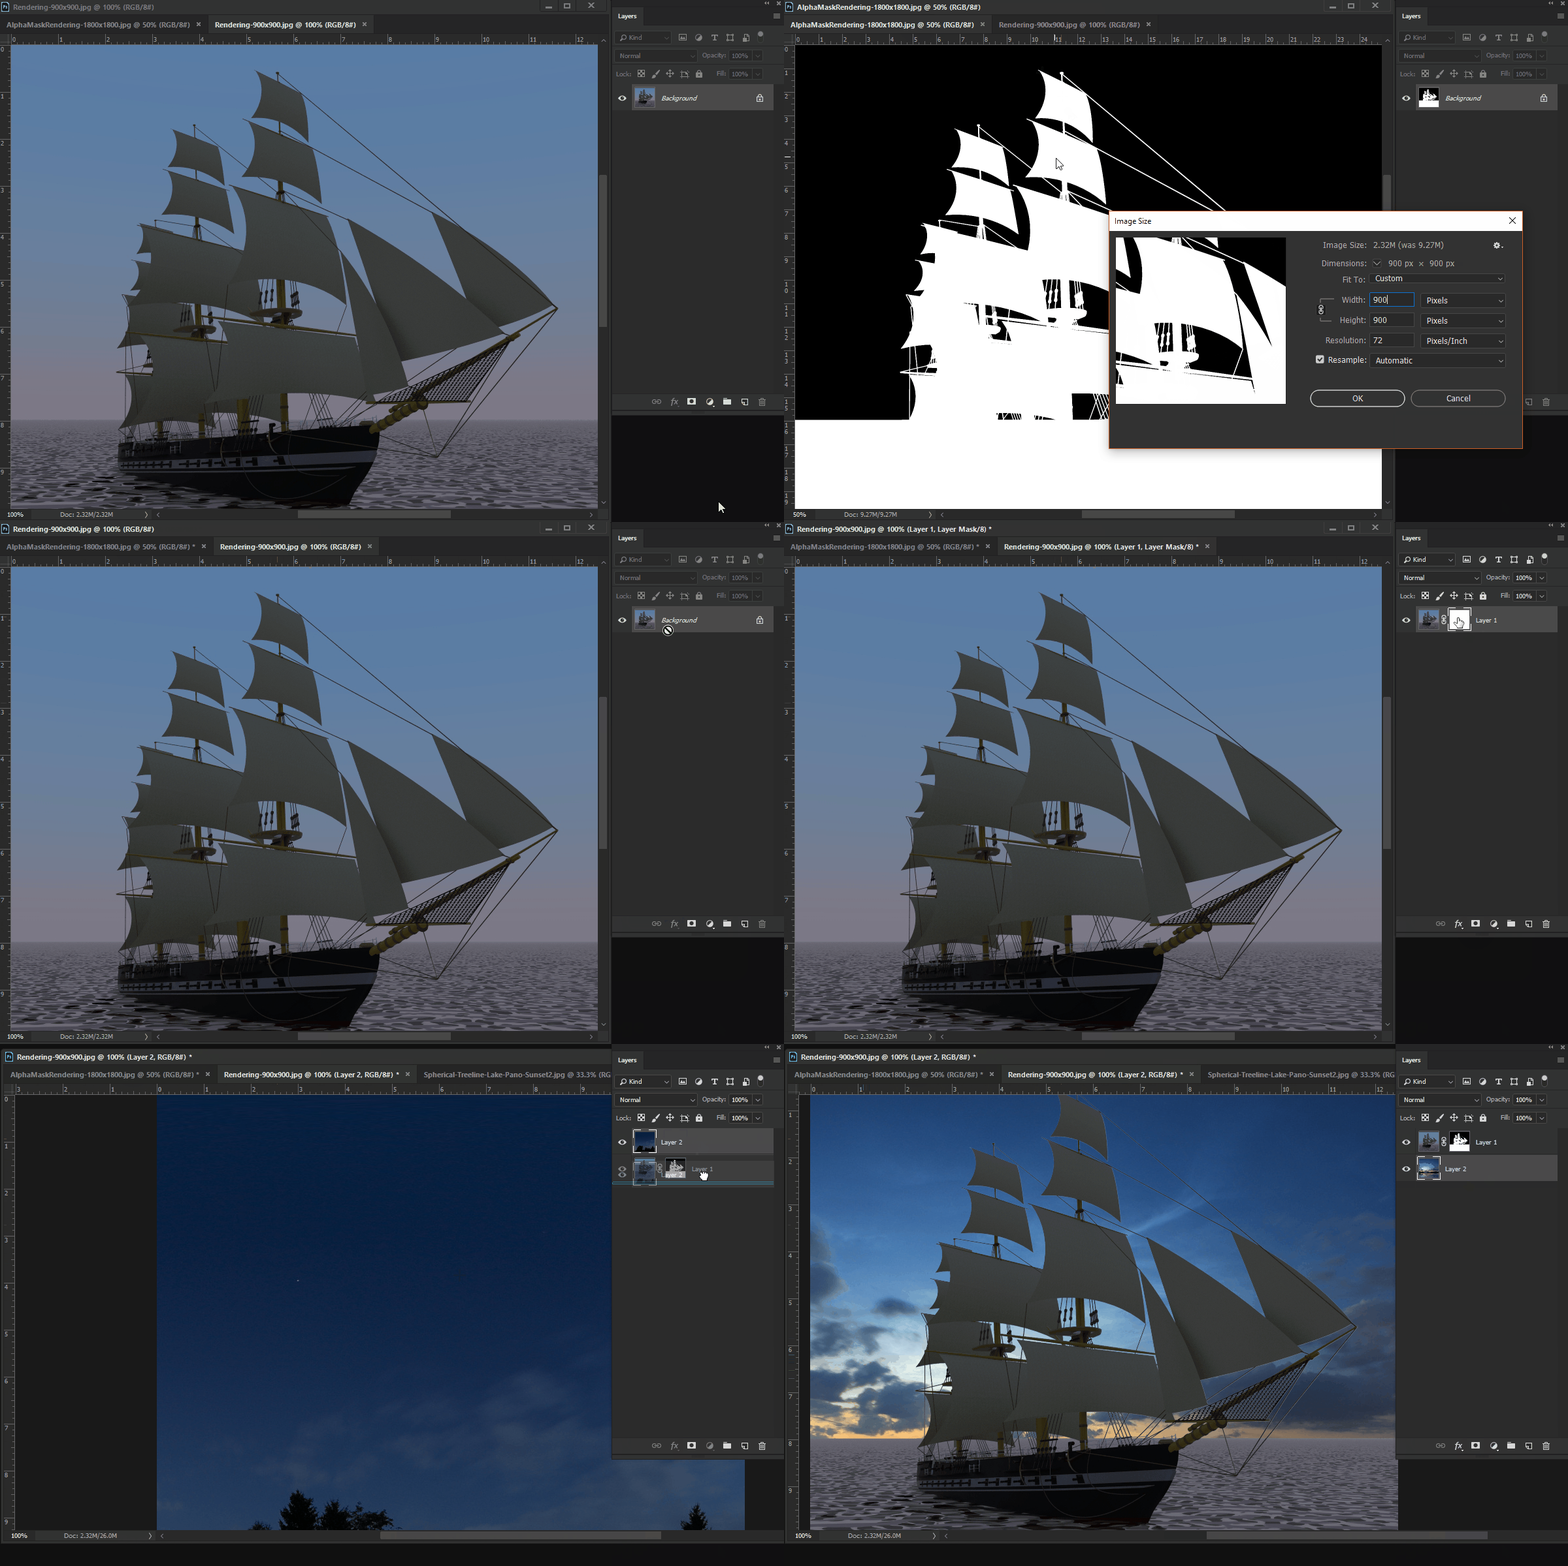
Render the Alpha Mask at twice the resolution you will need in your final image and resize the mask in your image editing program. This increases the quality of your alpha mask image.
Then place that Alpha Mask rendering onto the Alpha Channel for your rendered image's layer.

In GIMP this video tutorial explains how to copy and paste your black and white image into the alpha mask channel for your rendered image layer (these are the steps for GIMP as shown in the video tutorial linked here):
- open Alpha Mask Rendering (it's a greyscale image, basically almost completely black and white)
resize the Alpha Mask Render (which you rendered at 2x the scale of the original rendered image) and resize it to be exact same size as original rendering. (Use the "resize image" function to do this - not the "free transform" or "scale" function.) - Ctrl+C to copy the entire newly re-sized Alpha Mask Render
- Now you right-click your rendered image layer and choose "Add Alpha Channel". (choose either white or transparent alpha channel, it doesn't matter)
- Then select the rendering's new alpha channel icon now showing on your layers pallette next to the thumbnail of the rendering, and paste the Alpha Mask Render into the Alpha Channel for the rendered image using Ctrl+V
- GIMP will create a new layer with the pasted info, right-click that new layer and click the anchor icon, which will force that info to be pasted into the alpha mask channel.
- In GIMP or in Photoshop if the alpha mask on your layer is being edited it will have a highlight line around the little mask thumbnail icon
- add new layer BELOW your rendering containing the new sky you want to use